GlassFish server and Netbeans installation
September 6, 2013
Tiempo total: 99 días con 15:26:45 hrs
This is a graphic tutorial with a description step by step about how to run jsp files with the GlassFish server and Netbeans.
1. Download the JDK (Java Se Development Kit).
http://java.sun.com/javase/downloads/index.jsp
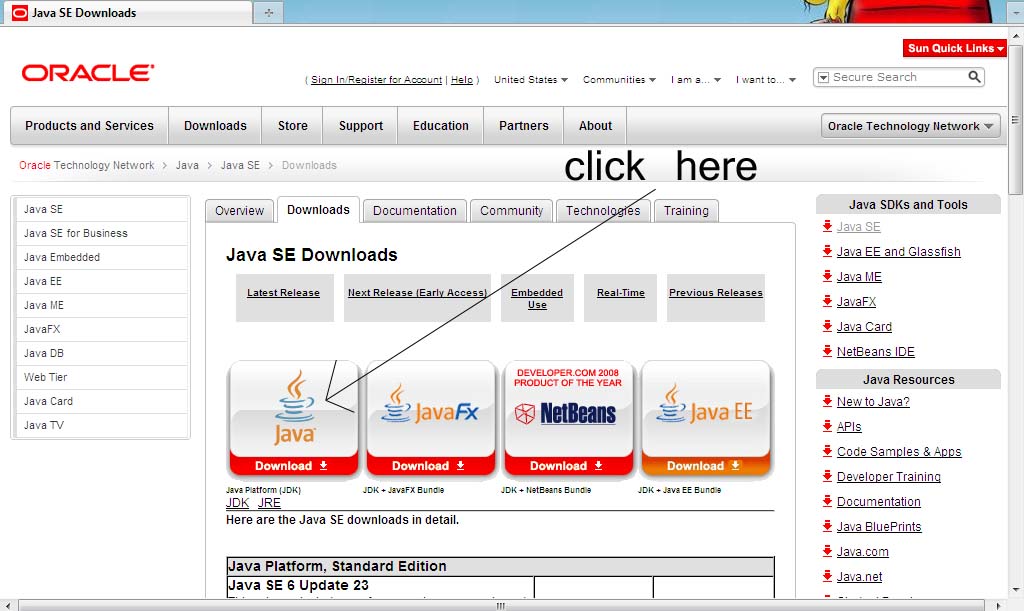
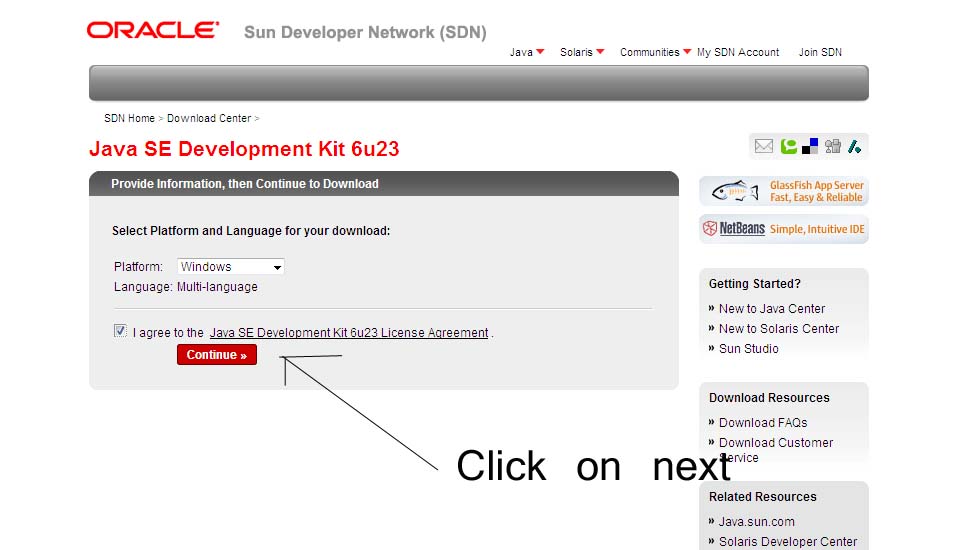
2. Follow the link, select: platform: Windows, agree the license.
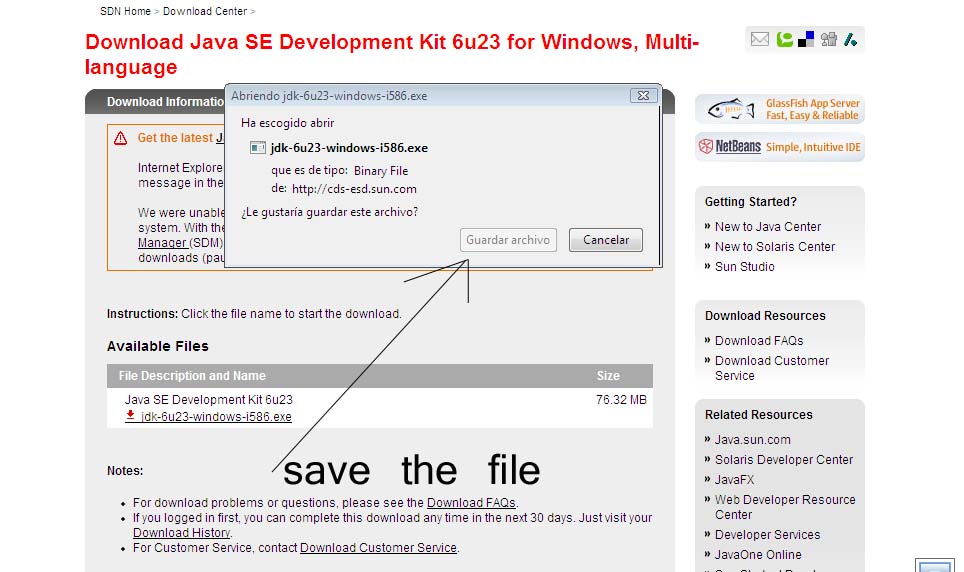
3. Click to download the file: jdk-6u23-windows-i586.exe or the latest version.
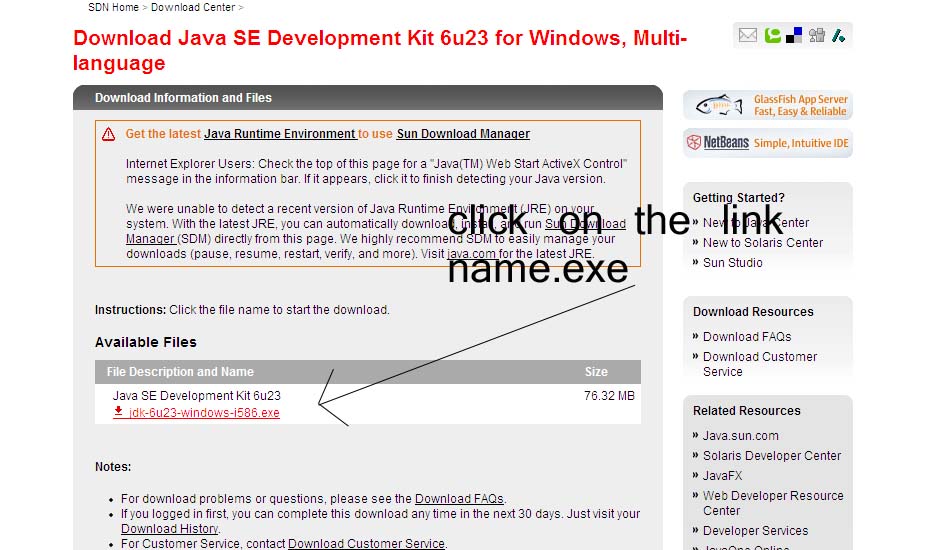
4. Click on Save File to start the download.
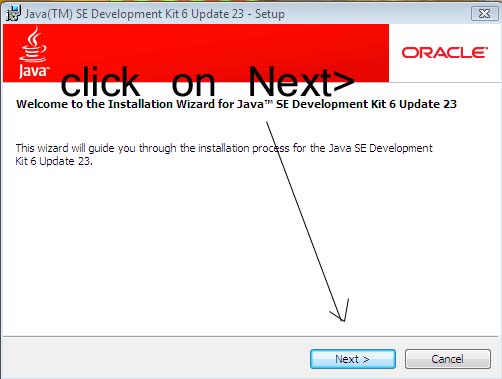
5. installing the JDK, double click on the file jdk-6u23-windows-i586.exe or the latest version, and press Next.
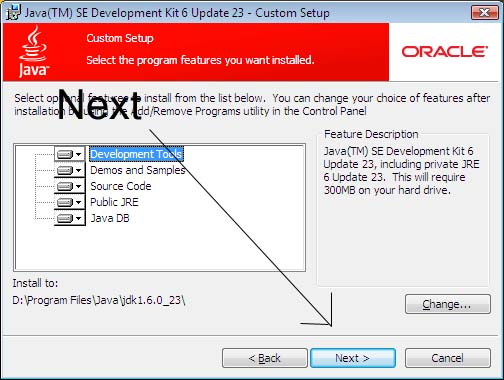
6. Select the folder to install the JDK, and press next.
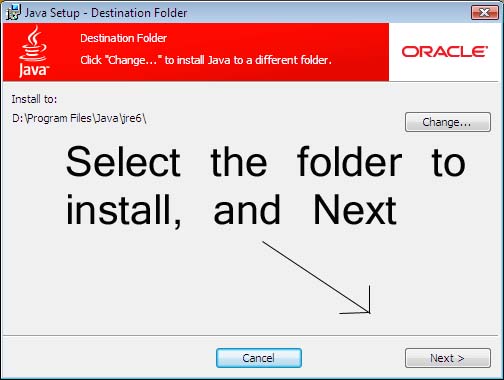
7. Select the folder to install these files, and click on Next.
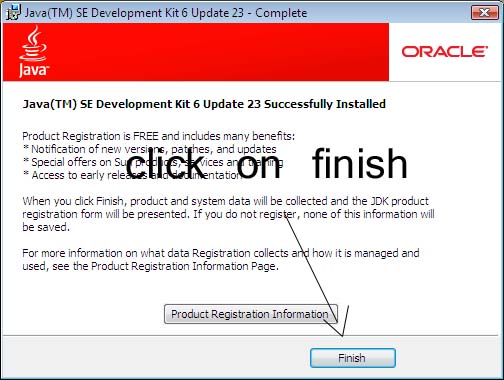
8. Click on Finish.
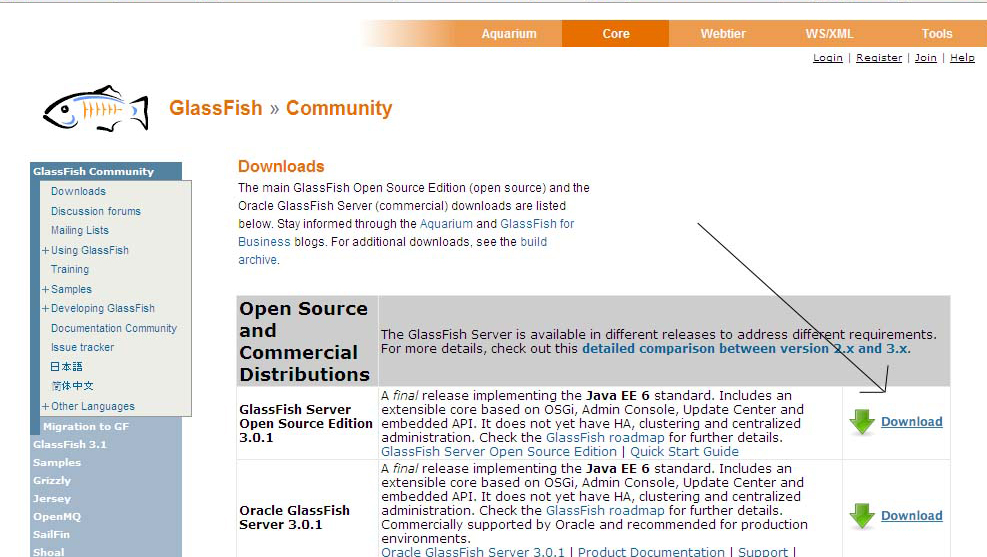
9. Download Glassfish 3.0.1 or the latest version.
http://glassfish.java.net/public/downloadsindex.html#top
And fallow the link “Download” Glassfish Server Open Source Edition 3.0.1 or the latest version.
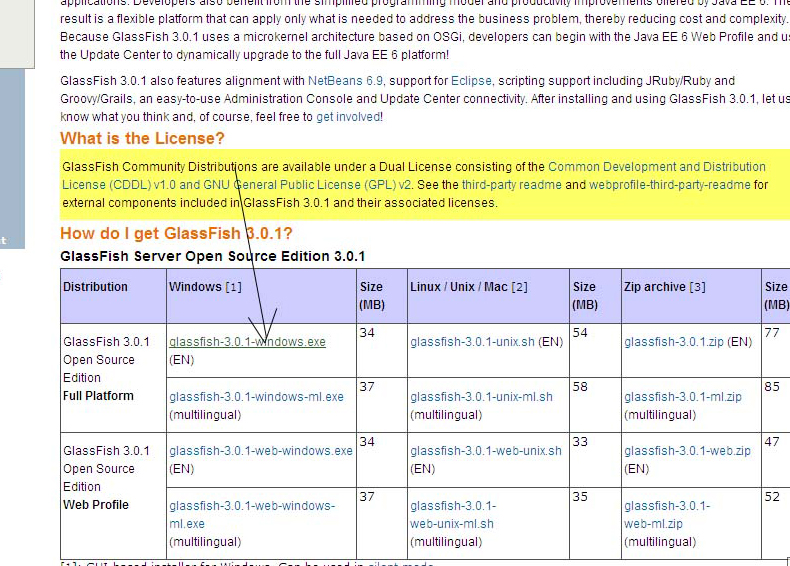
10. Select the link (on this example) “glassfish-3.0.1-windows.exe” from the table:
(Glassfish 3.0.1 Open Source Edition Full Platform, Windows [1])
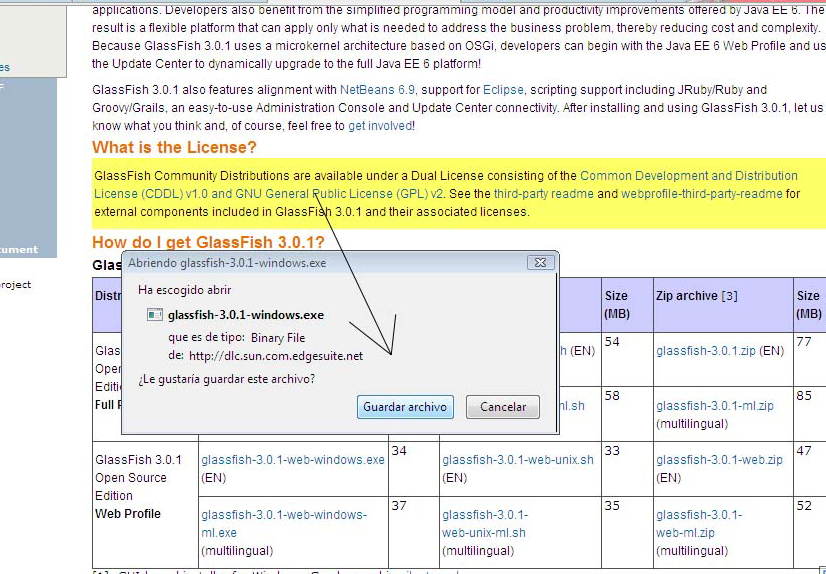
11. And start to download the file glassfish-3.0.1-windows.exe (on this example).
12. Installing glassfish-3.0.1-windows.exe.
Double click on glassfish-3.0.1-windows.exe. Wait until load.
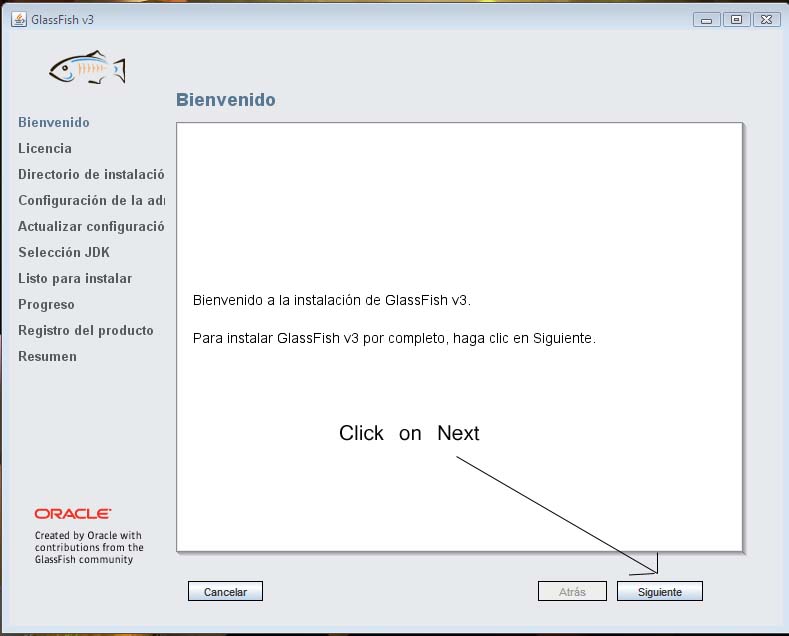
13. Click on next to start.
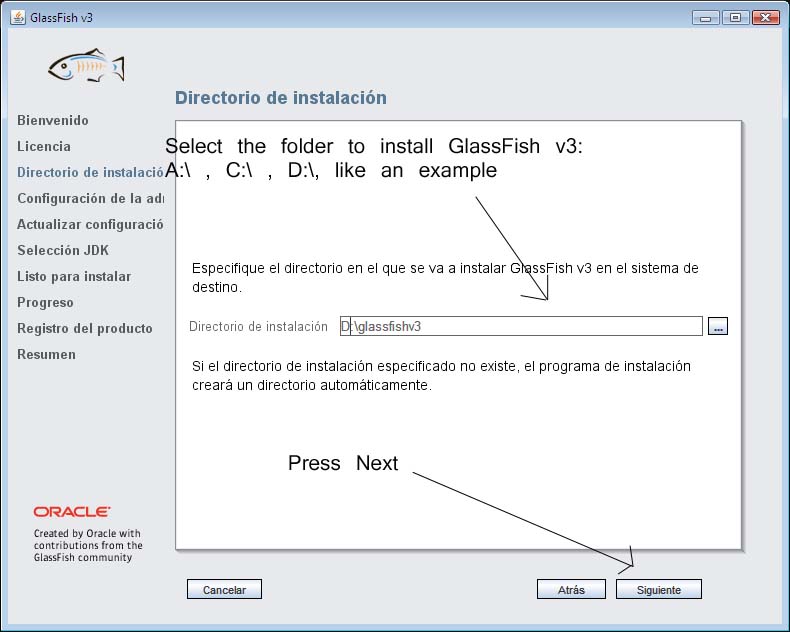
14. Select the folder to install Glassfish. Press Next.
15. A window with the fields Administrator port, http port, username and password, in this example we only will enter our password. Click Next.

16. Click Next.

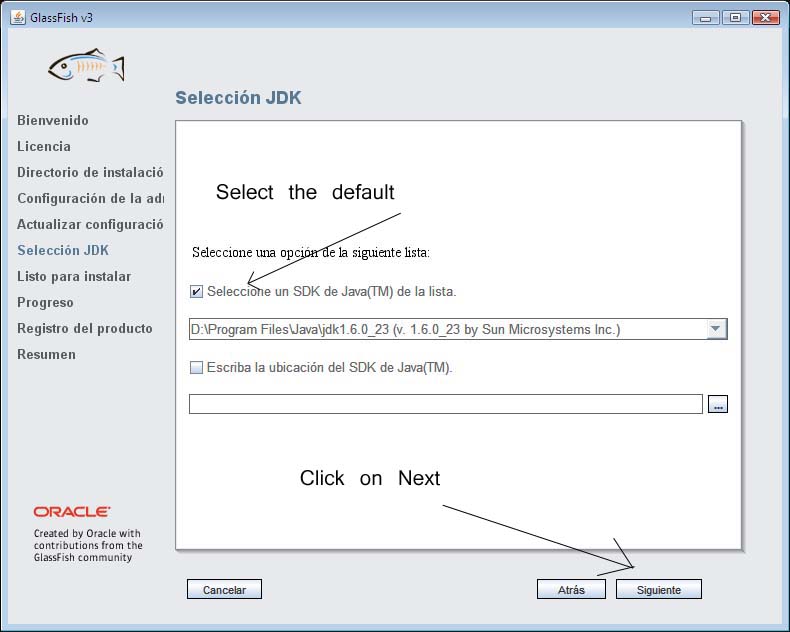
17. Select the folder where we install our JDK files, and press next.
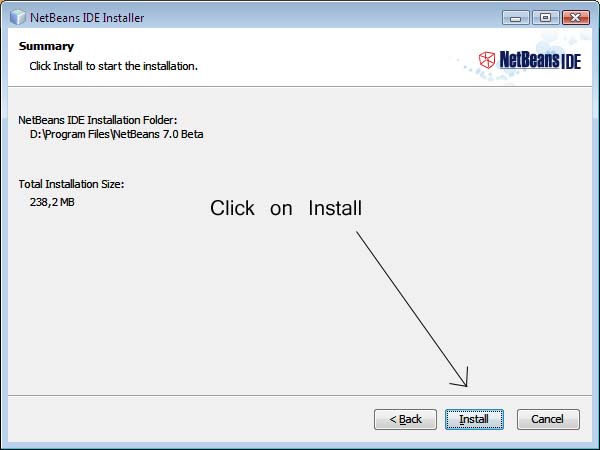
18. Click on Install.
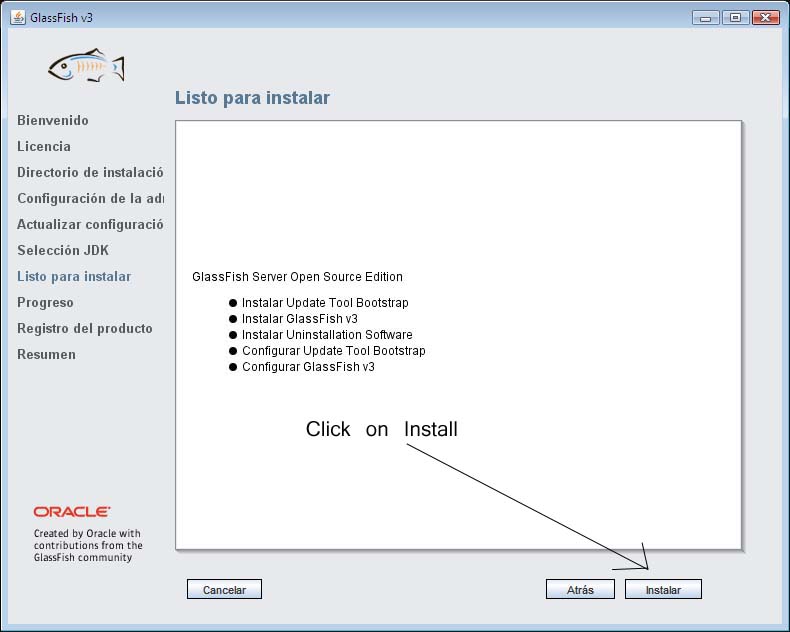
19. The installation will start.

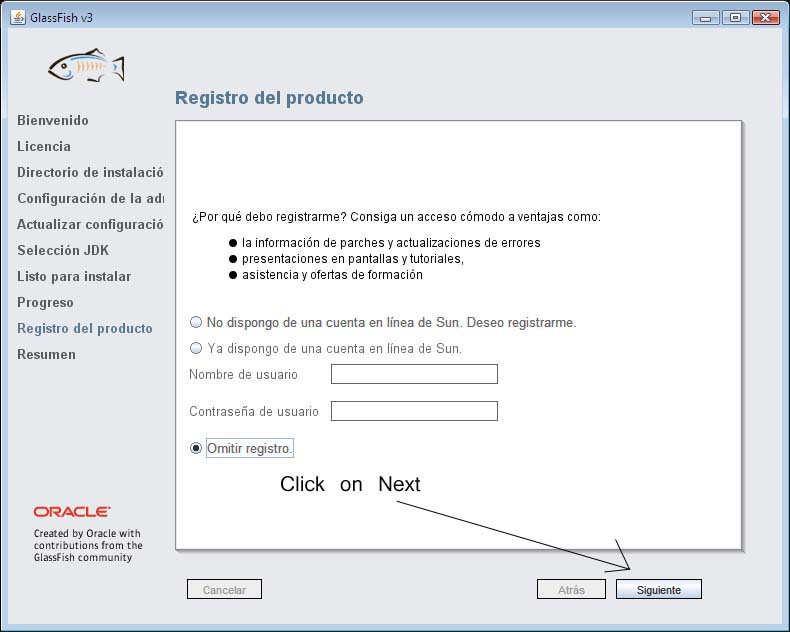
20. In this example, we need to skip the register.
21. The installation is finished. Click on Exit.

22. GlassFish server quick start:
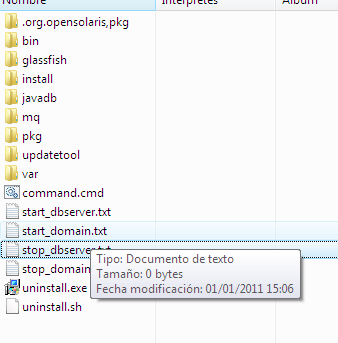
First, we need to create a .cmd file with the commands to start or stop the default domain and the database server.
- Create a new txt files on the folder where is installed the glassfish-3.0.1 server.
start_domain.txt
stop_domain.txt
start_dbserver.txt
stop_dbserver.txt

- Write on start_domain.txt:
bin/asadmin start-domain
and change the file start_domain.txt To start_domain.cmd. - Write on stop_domain.txt:
bin/asadmin stop-domain
and change the file stop_domain.txt to stop_domain.cmd - Write on start_dbserver.txt:
bin/asadmin start-database –dbhome $MYINSTALATIONFOLDER$/javadb
where $MYINSTALATIONFOLDER$ is the instalation folder of glassfish-3.0.1 server, in this example is D:\glassfishv3\, so, we will write:
bin/asadmin start-database –dbhome D:/glassfishv3/javadb
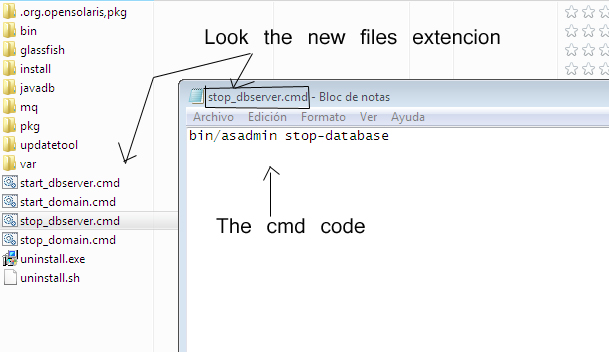
and change the file start_dbserver.txt to start_dbserver.cmd - Write on stop_dbserver.txt:
bin/asadmin stop-database
and change the file stop_dbserver.txt to start_dbserver.cmd.
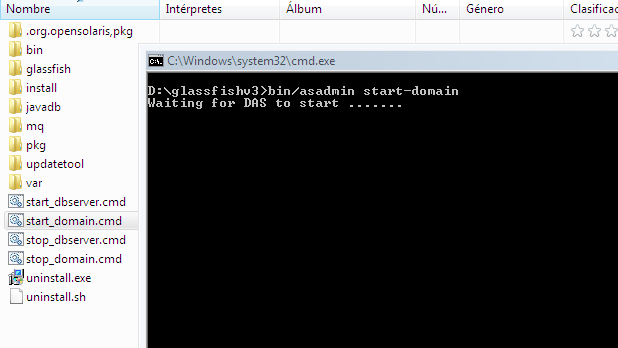
- To start the default domain, press the file start_domain.cmd, and start_dbserver.cmd. On this step maybe you will find some error, for example the message that not exists any domain name. For this, please use the console and go the to bin folder of the glashfish server, and execute the next command: create-domain –adminport 4848 domain then, 4848 and domain is the fixed details to set up this server.
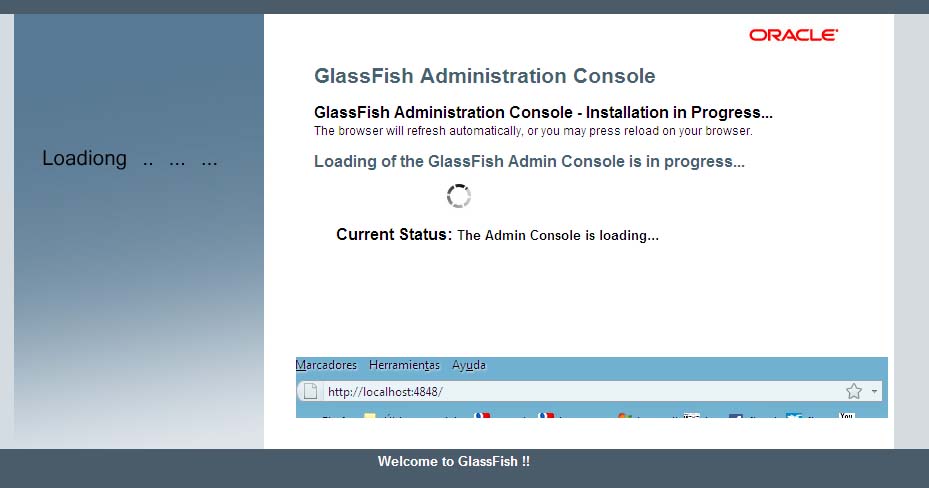
23. To start the administration console, type the url on you firefox.
- Loading the server.
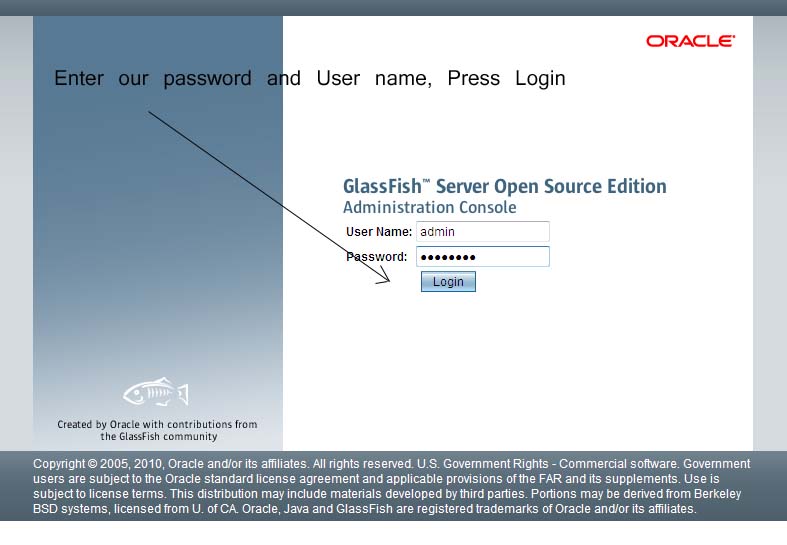
- Type our user name and password and press Login.
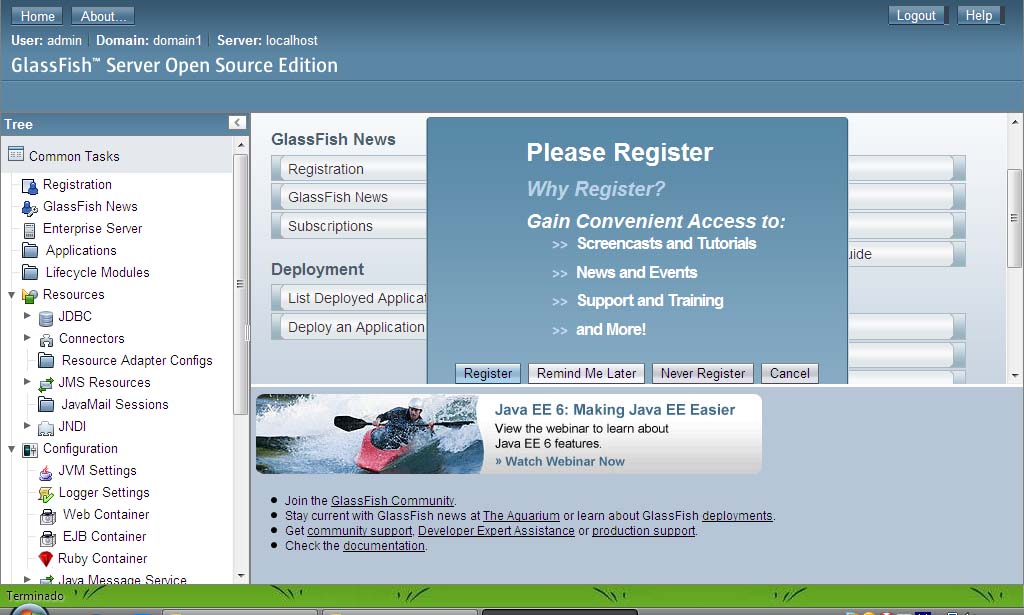
- Inside of the server.
24. Download the NetBeans IDE 7.0 Beta (Please, you need to download the latest version on your side)
http://dlc.sun.com.edgesuite.net/netbeans/7.0/beta/
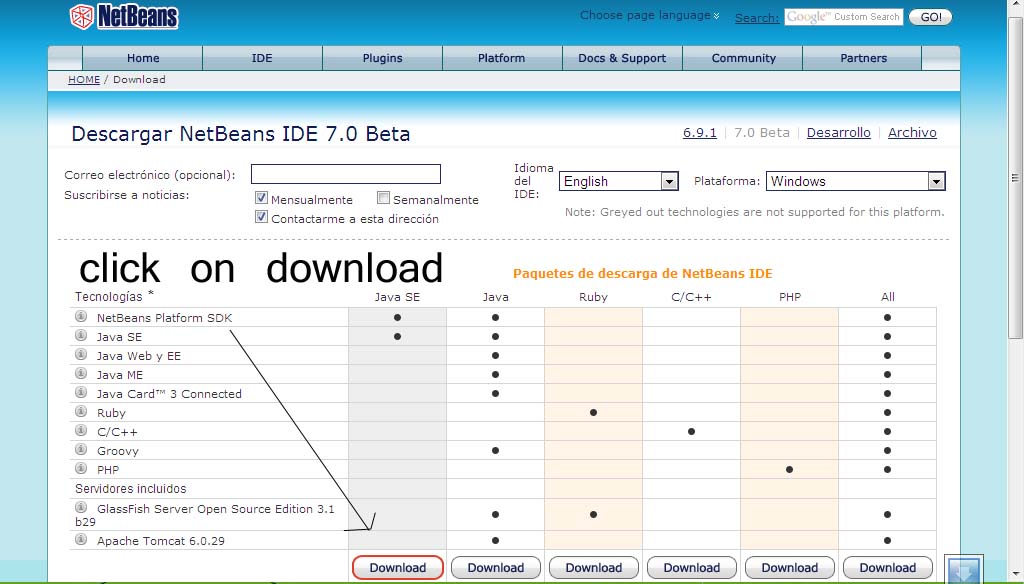
25. Clic to save the program file on your pc.
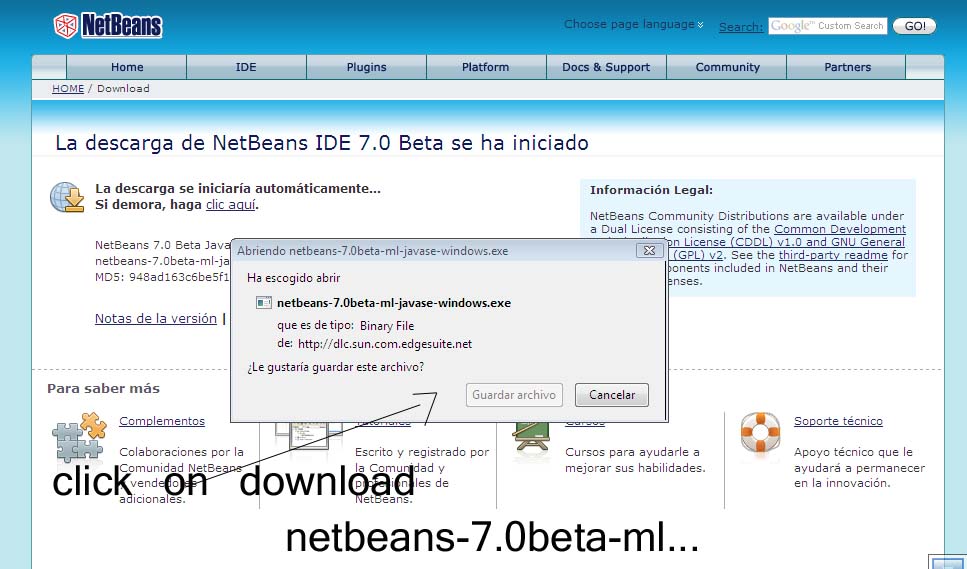
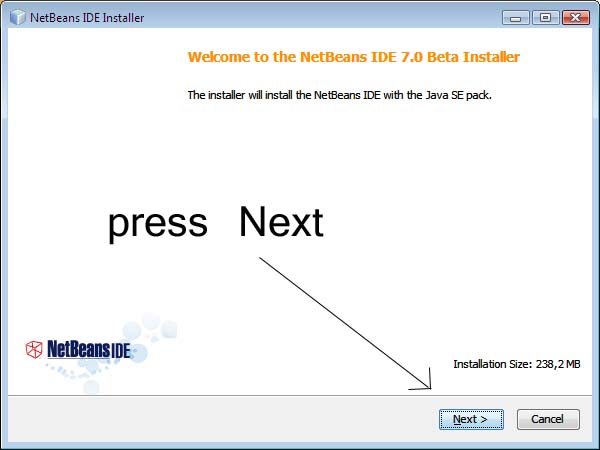
26. Installing the NetBeans IDE 7 Beta. Double click on the netbeans-7.0beta-ml-javase-windows.exe or the latest version, and press Next.
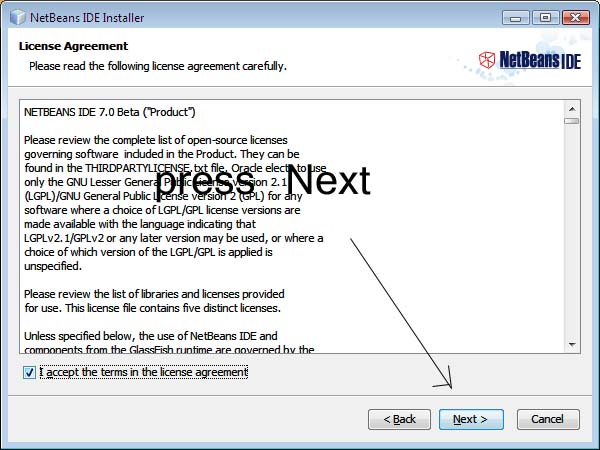
27. Accept the license agreement, press Next.
28. Select the folder to install NetBeans, also the folder where you install the JDK files. press Next.

29. Press Next.
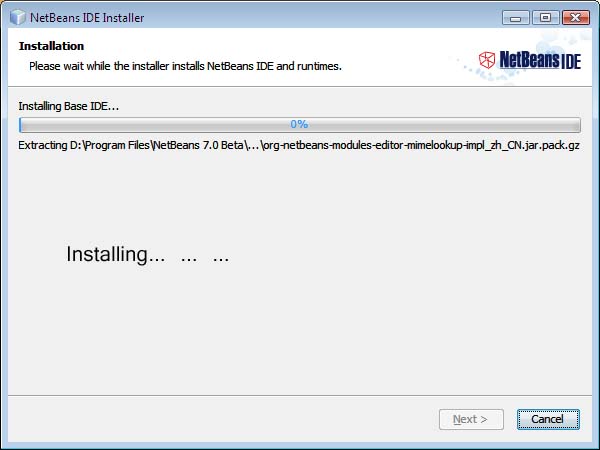
30. Installing the program.
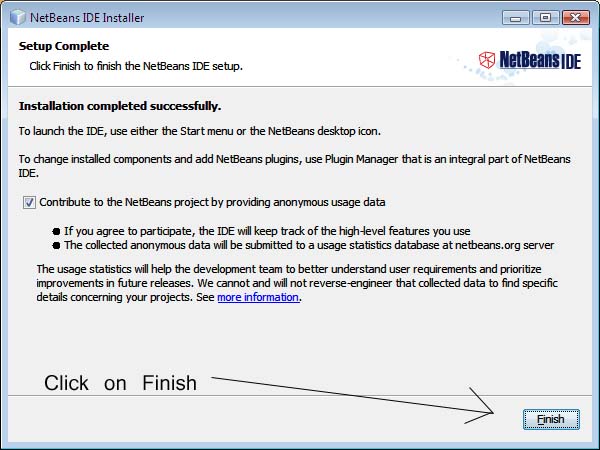
31. Finally, press Finish.
32. Finally, the installation folders:
JDK (Java Se Development Kit):
D:\Program Files\Java\jdk1.6.0_23\
NetBeans IDE 7 Beta:
D:\Program Files\NetBeans 7.0 Beta\
glassfish-3.0.1:
D:\glassfishv3\
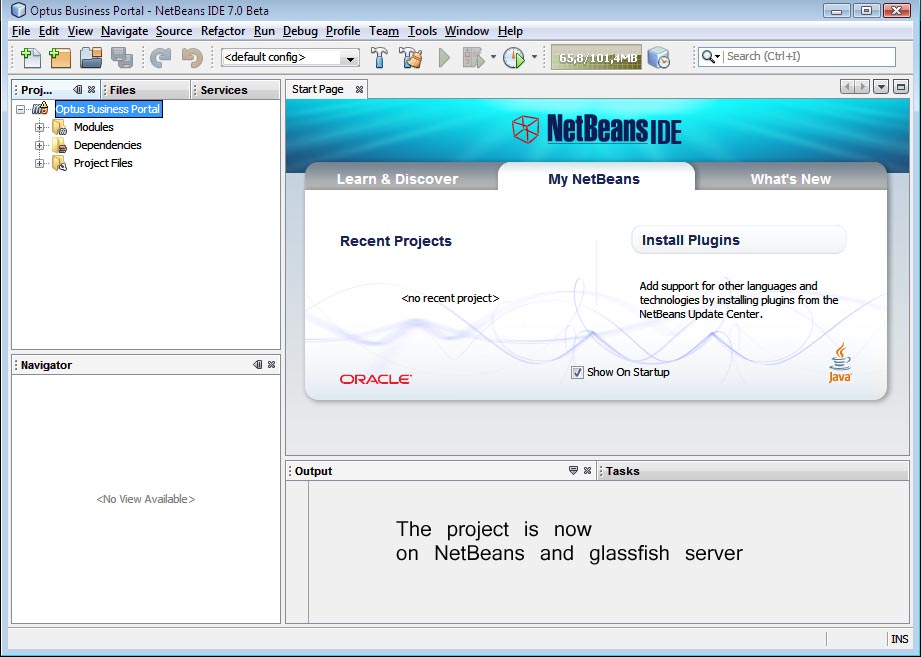
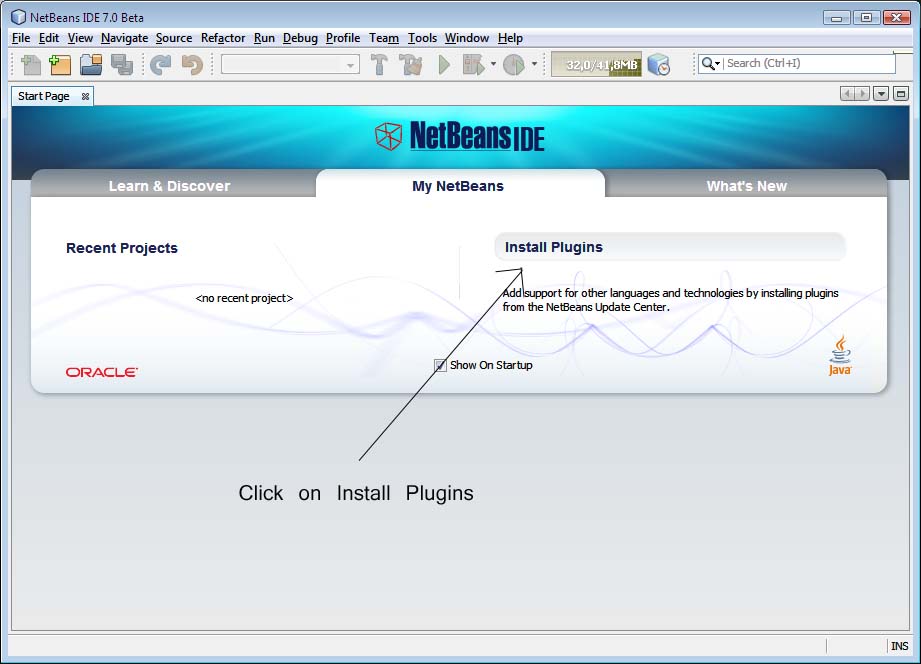
33. Configuration of NetBeans IDE 7.0. Run the programm. Click on Install Plugins.
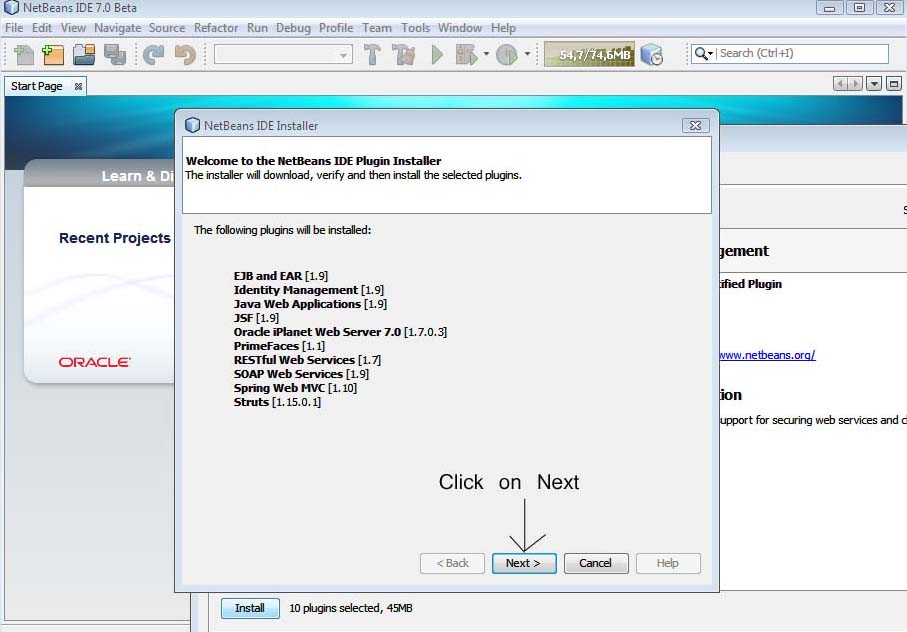
34. We will select all the Java web and EE options. Click on Install.

35. Click on Next.
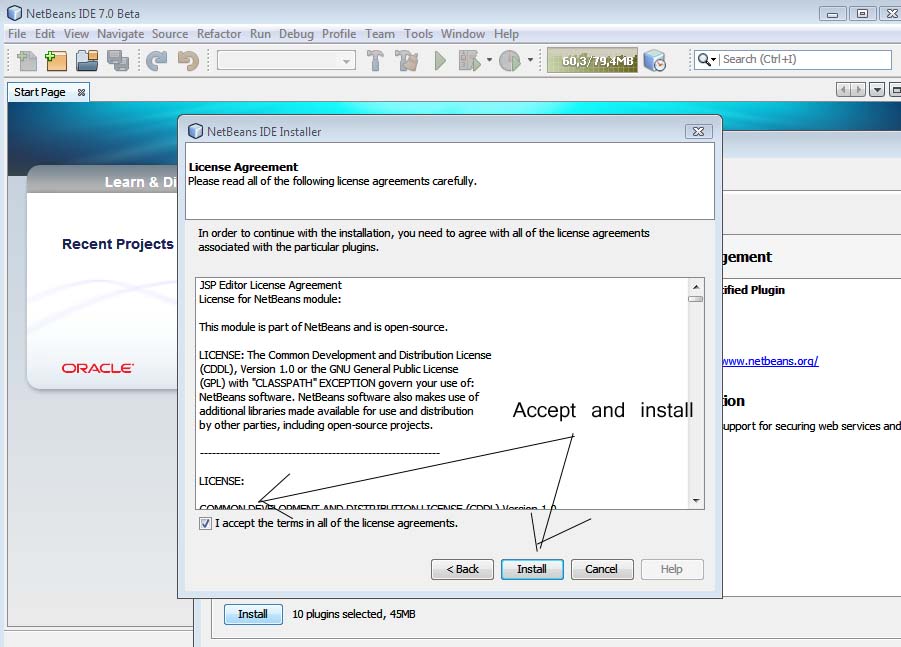
36. Click on accept. and Install.
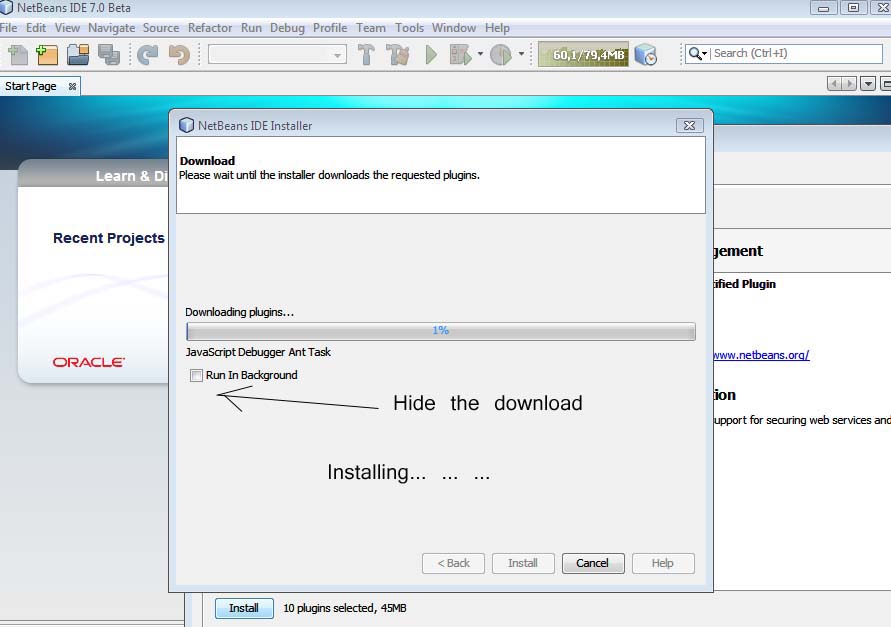
37. Installing. Click Run In Background.
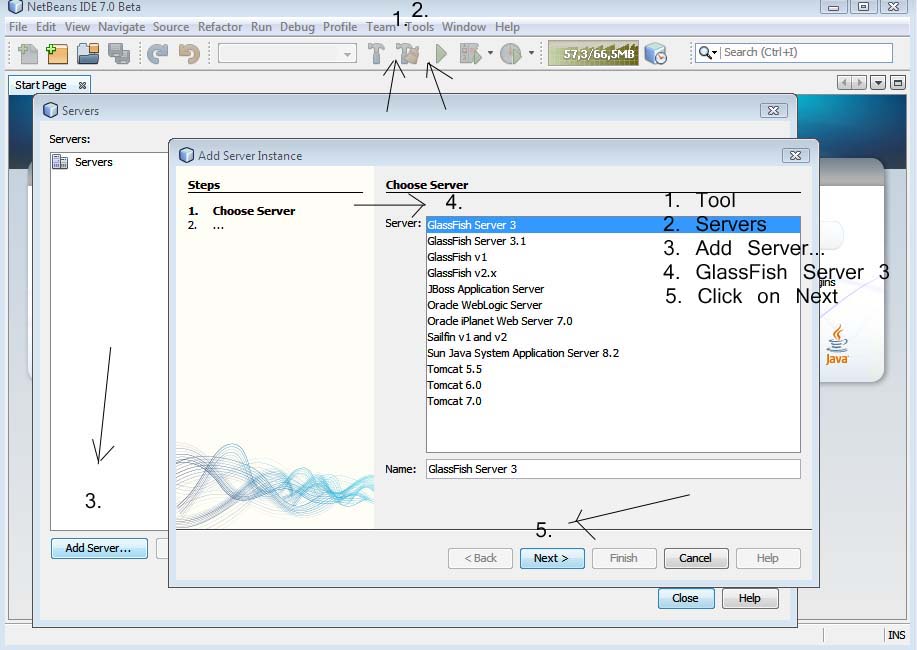
38. When finish the installation, go to Tool, Servers. addServer. Select the GlassFish Server 3, click Next.
39. In the field Installation Location, type the folder of the Glassfish server instalation. press Next.
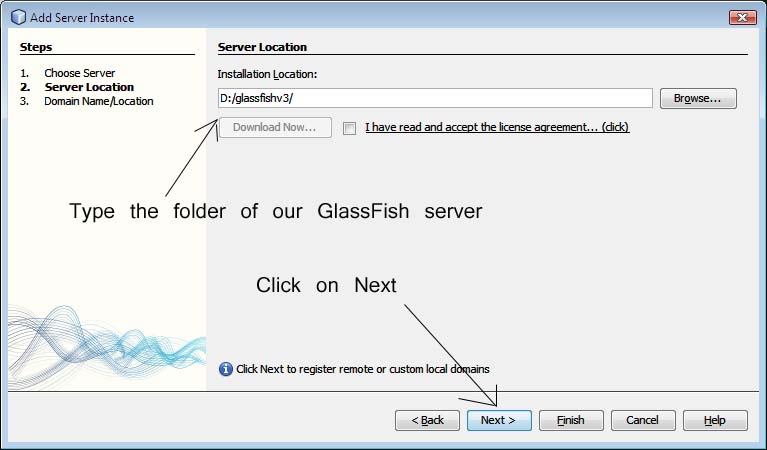
40. In the nex window, we will use the default settings. click on Finish.

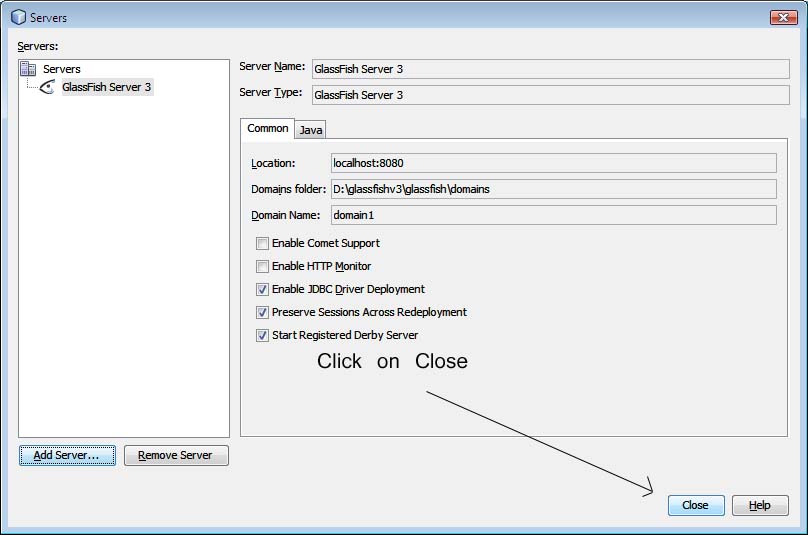
41. Finally, click on Close.
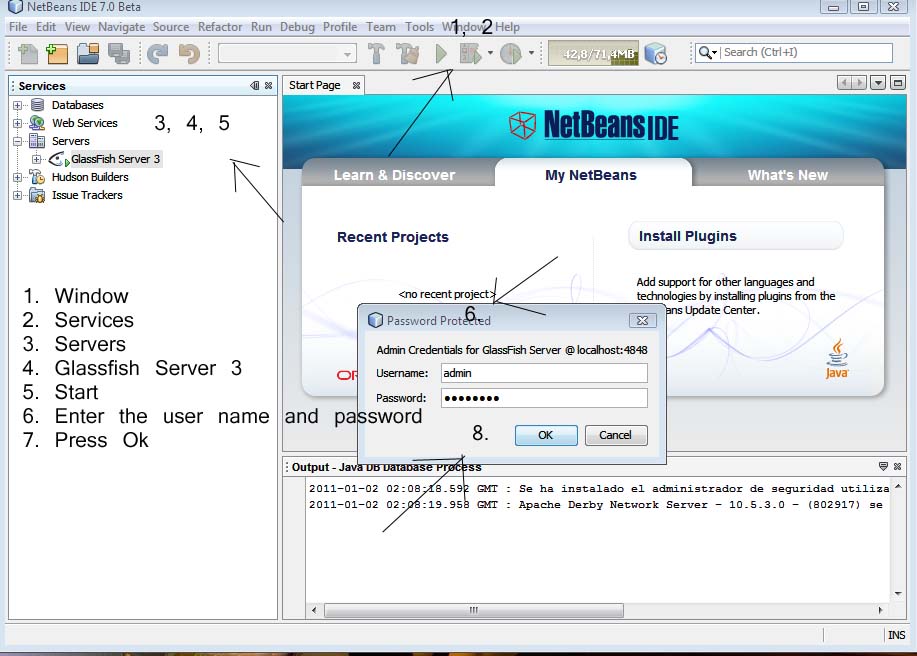
42. Let start the server and the NetBeansIDE: Window, Services, Servers, press the right button of the mouse on GlassFish Server 3, and start. Will be appear a login window, type our user name: admin, and the password: *******. press OK.
43. Open the files of your project, or create a new one. This is used to run web projects on your local server with the languaje jsp using the GlassFish server with the IDE Netbeans.
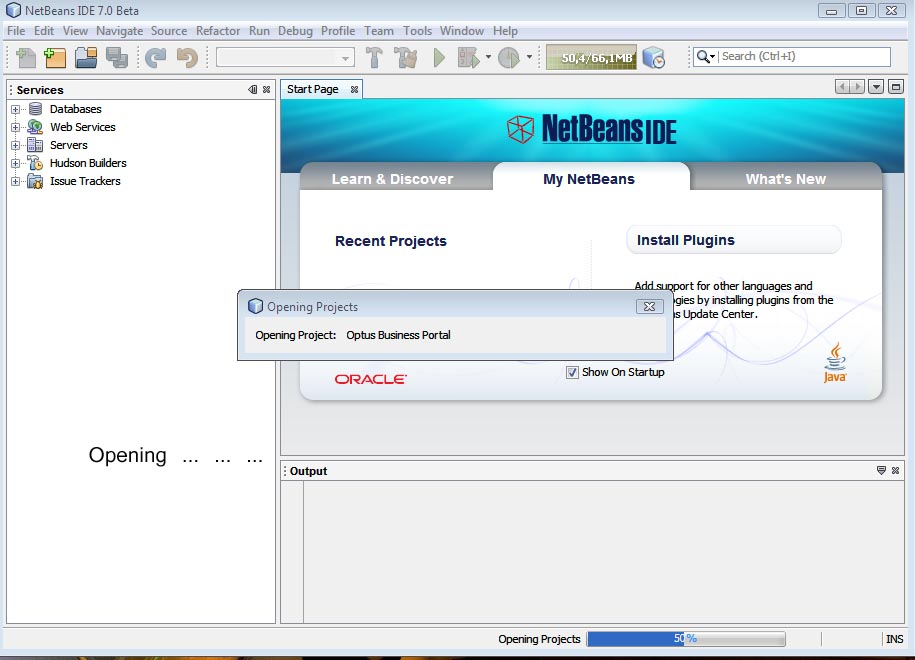
44. Finally, we have now open the project on NetBeans and glassfish server.